Window awnings with easyZIP guidance More scope for decisions, faster installation, greater variety
Warema has overhauled its window awning products to create a clearly structured range that can be combined in multiple ways to find the right solution for almost any situation. What makes the range so special is the new one-piece guide rail, used for easyZIP, rails and basic awning as markisolette. This is suitable for various installation situations and sizes, ensuring maximum flexibility and planning freedom. The easyZIP technology enables simple installation with a clip profile, increasing the functional reliability of the window awning and reducing installation time.
Additional equipment variants enhance the functionality of the window awnings. For example, VisioNeo fall protection can be combined with the new awning window system with easyZIP guide. The integrated window pane blends harmoniously into the facade while reliably protecting residents from falling. Warema’s smart SecuKit technology for the new front-mounted awning with easyZIP guidance ensures the safety of the second emergency route. In the event of a fall, this technology allows motor-operated front-mounted awnings to be quickly raised by hand via a simple belt.
In 2020, the modular structure of the new window awning range will be expanded to include solutions for further installation situations - easy to combine and just as versatile.
Benefits of the new clip profile at a glance:
· It's easier - Simply insert the clip profile. There is no need to align the rubber lip in the inlay using an installation tool.
· It's quicker - Installation takes much less time now that the inspection cover has been removed from the guide rail.
· It's safer - The clip profile and guide rail inlays increase functional reliability.
The most important installation steps:
Step 1: Check that all parts have been delivered and take clip profile out of guide rails
Step 2: Attach guide rails
Step 3: Screw guide rails onto cover panel
Step 4: Erect and align window awning
Step 5: Fasten guide rails
Step 6: Move fabric downward slightly, then insert clip profile and push upward
Step 7: Program limit positions
Step 8: Run functional check and test responsive obstacle detection
Note:
These installation steps do not replace the installation instructions supplied with the product.
They simply illustrate basic installation. The safety instructions contained in the installation guide must be observed.
Copyright: Warema. Fotoveröffentlichung honorarfrei bei Quellenangabe – um Belegexemplar wird gebeten. Fotoverwendung für Werbezwecke nicht gestattet.
Downloads
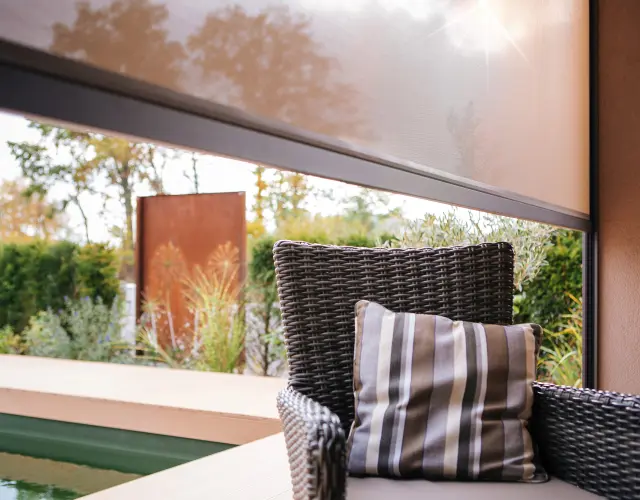
Warema window awning with easyZIP guidance
Step 1
Step 2
Step 3
Step 4
Step 5
Step 6
Step 7
Step 8
Your direct contact to us